
Stardew Valley Museum Layout Guide: Collection, Donations and Rewards
The best Stardew Valley museum layout is the one that lets you spot missing donations quickly. The game does not award extra points for a perfect arrangement, so you can organize the room around clear categories: minerals, artifacts, display rewards, and a flexible area for late additions. This guide combines that layout idea with the 95-item collection, milestone rewards, and a practical route for finishing the museum.
Leave a visible empty area, group similar items together, and do not chase decoration before you know what is missing. The museum accepts 95 donations in total: 53 minerals and 42 artifacts. Donate duplicates only after checking whether the item is needed for a quest, bundle, recipe, or a special reward condition.
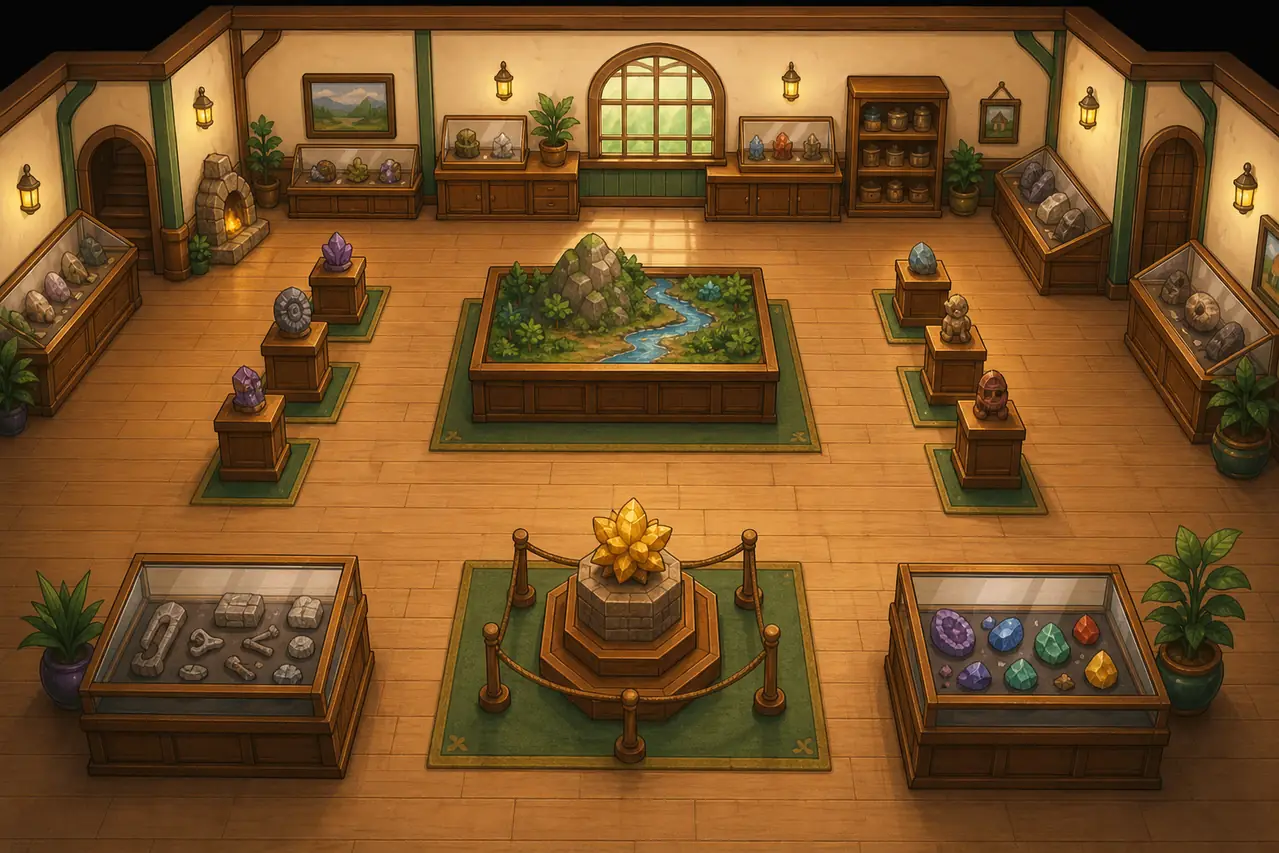
What is the best Stardew Valley museum layout?
There is no gameplay bonus for placing an item in a particular square. A useful layout is therefore an information system: it should make categories obvious, leave room for new rewards, and let you compare the room with your missing-item notes at a glance.
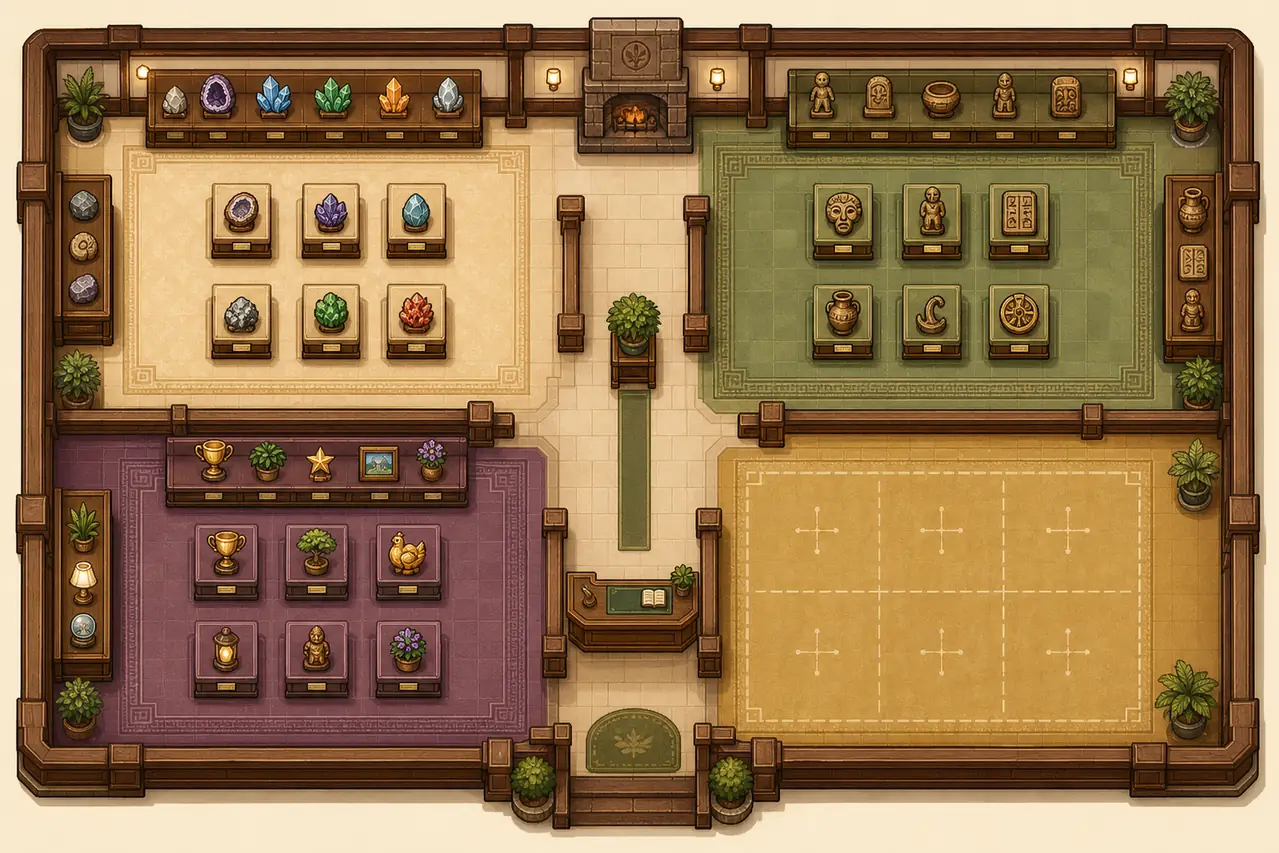
Group minerals together
Keep geode minerals and other polished stones in one zone. Similar colors or shapes make a newly donated item easy to notice.
Give artifacts their own area
Place fossils, ancient tools, dolls, and other artifacts together so the display reflects the collection rather than the order you found them.
Display rewards separately
Put paintings, statues, rarecrows, and reward furniture in a third zone. This keeps reward items from hiding a missing donation.
Keep an expansion zone
Leave a few connected tiles open until late game. A flexible corner prevents you from rebuilding the whole room every time Gunther gives you a new reward.
Stardew Valley museum collection: 95 items to donate
The museum collection is not a single list of random objects. Thinking in source categories makes the search much faster and prevents the common mistake of farming one location after the missing item has moved to another pool.
53 minerals
Many minerals arrive through geodes, but the correct geode type matters. Keep a few unopened geodes and check your missing display before cracking every one.
42 artifacts
Artifact spots, fishing treasure, monsters, diggable tiles, and special locations all contribute. The missing item may be tied to a narrow source rather than a broad area.
Track the empty spaces
Use the museum display and the in-game collection as a cross-check. Write down the item name and its source before spending a whole season searching.
Important distinction: Museum completion is separate from Community Center bundles and the Perfection Tracker. A museum donation can help several goals, but the museum's own 95-item total is the finish line for this page.
Museum donation rewards from 5 to 95 items
Gunther gives milestone rewards as the total donation count rises. Use the table as a planning reference, not as a reason to sell a rare item before checking your current save.
| Items donated | Reward |
|---|---|
| 5 | Cauliflower Seeds ×9 |
| 10 | Melon Seeds ×9 |
| 15 | Starfruit Seeds ×1 |
| 20 | 'A Night On Eco-Hill' painting |
| 25 | 'Jade Hills' painting |
| 30 | Large Futan Bear |
| 35 | Pumpkin Seeds ×9 |
| 40 | Rarecrow #8 and the Treasure Trove achievement |
| 50 | Bear Statue |
| 60 | Rusty Key, delivered the next day |
| 70 | Triple Shot Espresso ×3 |
| 80 | Warp Totem: Farm ×5 |
| 90 | Magic Rock Candy |
| 95 | Stardrop and the Complete Collection achievement |
Mineral and artifact donation counts have their own reward tracks. The artifact track also has a special condition involving the Rare Disc and Dwarf Gadget, so a total-count table alone does not describe every museum reward.
How to finish the Stardew Valley museum faster
The fastest route is not one universal farm schedule. It is a feedback loop: identify the empty slot, target the source that can produce it, donate immediately, and update the layout so the next gap stays visible.
- 1
Record the missing item
Start from the actual empty display space. Note whether it is a mineral or artifact before choosing a location or activity.
- 2
Target the narrow source
For minerals, compare the geode type and break the right batch. For artifacts, rotate through artifact spots, fishing treasure, monsters, and special locations instead of repeating one route blindly.
- 3
Donate the first safe copy
Once you have a confirmed museum item, donate it before selling duplicates. Keep a small chest for quest, bundle, cooking, or special-condition items.
- 4
Use milestones as checkpoints
At each reward threshold, pause and update your room. Rewards can occupy display space, so leave the expansion zone open until your layout is stable.
- 5
Finish at 95 donations
The final total donation milestone gives the Stardrop and marks the Complete Collection achievement. After that, rearrangement is purely decorative.
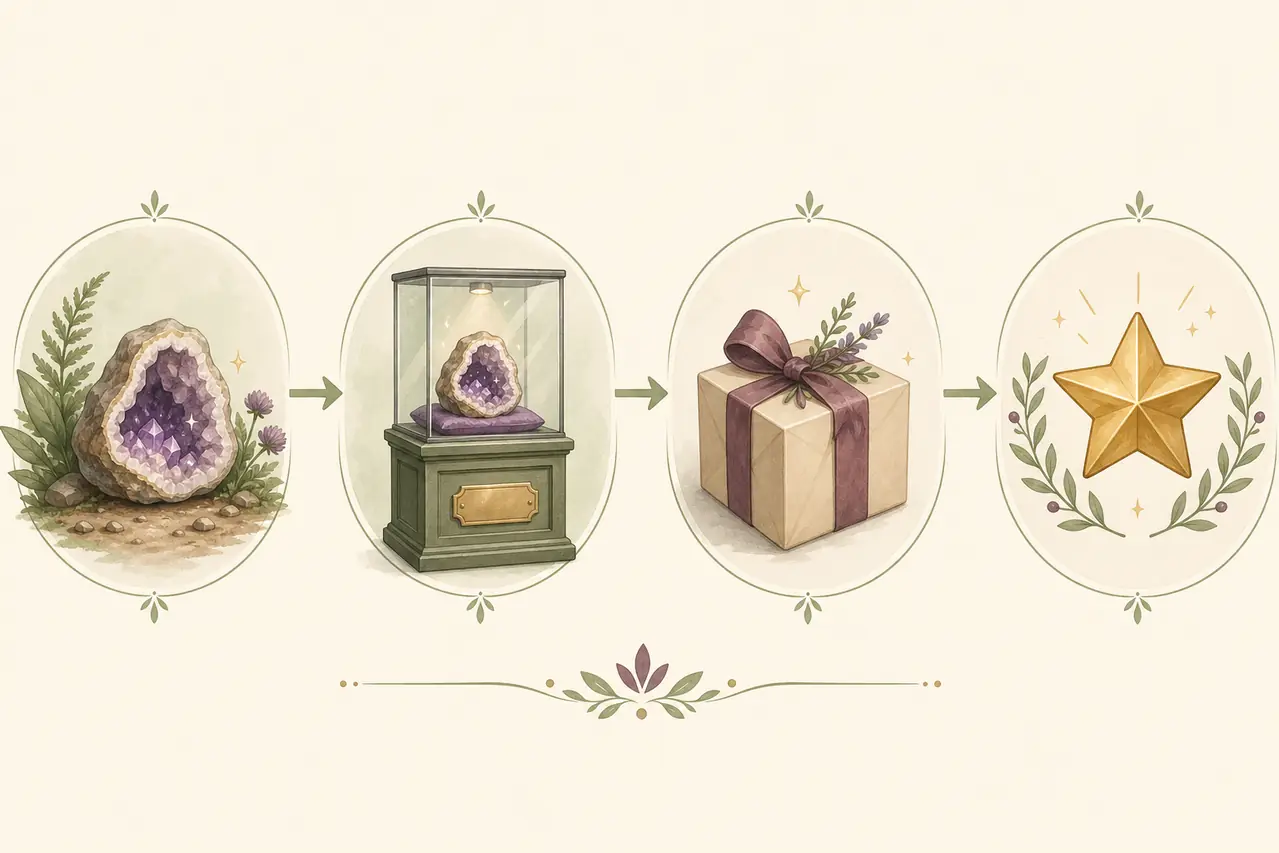
Small habits that prevent a museum reset
A clean layout helps, but the largest time savings come from protecting rare items and checking the source before you commit to a long search.
Keep a museum chest
Store spare artifacts and unopened geodes in one labeled chest. It is easier to compare candidates when they are not mixed with sellable loot.
Search by source
Use a trusted item page or the museum list to confirm whether the gap comes from a geode, dig spot, fishing chest, monster, or special area.
Recheck after updates
Major game updates or mods can change the way a save is played. Back up important saves before large changes and verify the current source notes.
Do not decorate too early
Treat the room as a working checklist until the collection is close to 95. A beautiful but full layout can hide the exact space you still need.
Museum layout is cosmetic, but museum organization is useful. Group minerals, artifacts, and rewards; leave space for late milestones; and keep a source-based missing-item list. That turns the museum from a decoration room into a visible completion dashboard.
Stardew Valley museum FAQ
Does Stardew Valley museum layout matter?
No gameplay score is attached to the arrangement. Use categories and open space so the room helps you see what is missing.
How many donations complete the museum?
There are 95 total donation items. The collection is commonly described as 53 minerals and 42 artifacts.
What is the final museum reward?
At 95 donations you receive a Stardrop and the Complete Collection achievement.
Should I sell duplicate artifacts?
Keep at least one donated copy and check the item source before selling extras. A rare artifact may still be useful for a quest, bundle, recipe, or a special museum condition.
Is the museum the same as Perfection?
No. Museum completion is one collection goal, while Perfection includes many categories such as shipping, friendship, fish, recipes, crafting, and Golden Walnuts.
Related Stardew Valley tools and guides
Gameplay references
- Stardew Valley Wiki — Museum — Donation totals, milestone rewards, mineral rewards, and artifact conditions.
- Stardew Valley Wiki — Artifacts — Artifact sources and collection context.
- Stardew Valley Wiki — Minerals — Mineral sources and donation context.