
Stardew Valley Farm Layout Ideas: A Practical Planning Guide
A strong Stardew Valley farm layout is less about copying a perfect screenshot and more about making every daily route, crop bed and future upgrade easy to understand. This guide turns a blank farm into flexible zones for crops, animals, trees, machines, paths and expansion.
Start with a short central path, place the highest-frequency buildings closest to the farmhouse, use repeatable crop blocks sized for your current sprinklers, and reserve one open area for upgrades. A practical layout should save time first and look polished second.
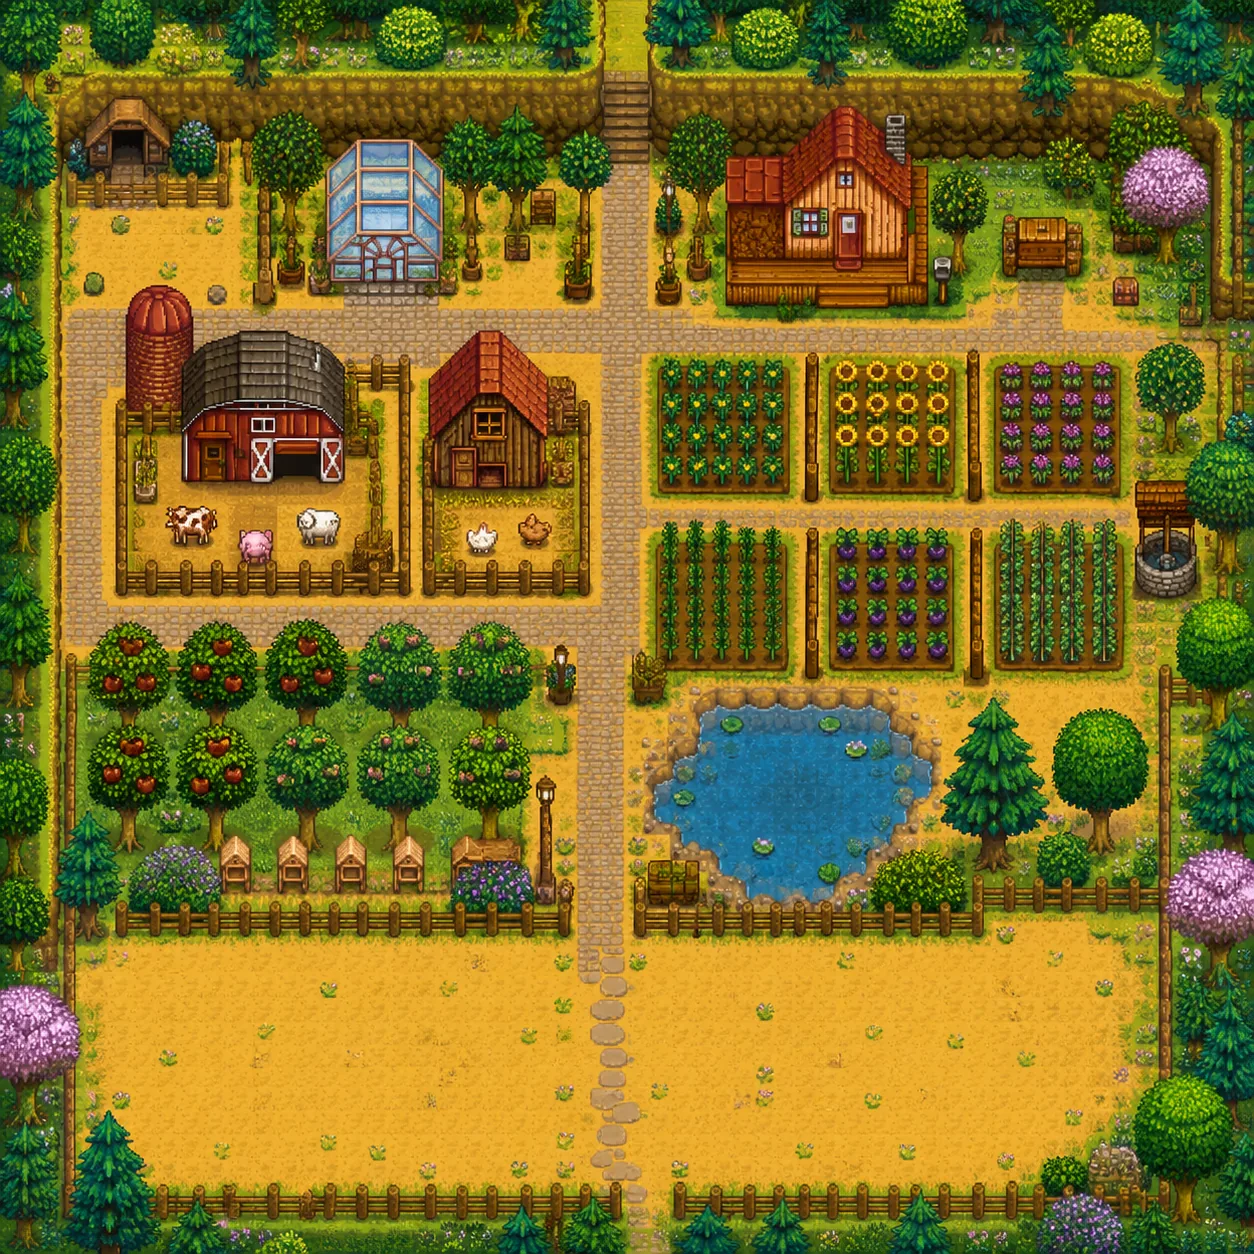
The three visuals on this page are original editorial concept illustrations created for planning explanation. They are not official Stardew Valley screenshots, and the written layout advice remains the source of truth.
Choose a farm layout goal before placing buildings
Many farm redesigns become frustrating because the player starts with decoration, then discovers there is no room for machines, animal doors or a better crop rotation. Decide what your farm must do every morning before choosing a visual style.
Protect daily routes
Put the farmhouse, shipping bin, barns, coops, kegs and chests on routes you already walk. A beautiful layout that adds several screens of walking every day will feel worse than a simpler plan.
Build repeatable beds
Use crop rectangles that can be copied, expanded or left empty. Repeatable beds make sprinkler upgrades, scarecrow placement and seasonal replanting much easier to manage.
Reserve future space
Do not fill every open tile in year one. Leave a deliberate expansion area for sheds, fish ponds, deluxe barns, tree rows, late-game machines or a later decorative redesign.
Build the farm as connected zones, not isolated objects
A useful Stardew Valley farm layout has a small number of obvious zones. The exact boundaries depend on the farm map, but the planning logic works on Standard, Four Corners, Forest, Hill-top, Riverland, Beach and Meadowlands farms.
- 1
Keep a central spine
Start with one main north-south or east-west path that connects the farmhouse to the exit, shipping bin and the busiest production area. Leave enough width for clean turns and avoid forcing yourself around fences or ponds.
- 2
Put high-frequency buildings near home
Place the barn, coop, chest cluster, processing sheds or tool storage where you can reach them before leaving for town, the mines or the beach. Buildings used only once a week can sit farther away.
- 3
Give crops a clear edge
Crop beds work best when their borders are easy to read. Use paths, fences, trees or open grass as visual separators so you can see where one season's field ends and the next expansion begins.
- 4
Keep nature and decoration intentional
Trees, ponds, grass and decorative paths are useful when they support a zone. A small orchard can mark a boundary; random trees scattered through crop lanes usually create extra movement and tool frustration.
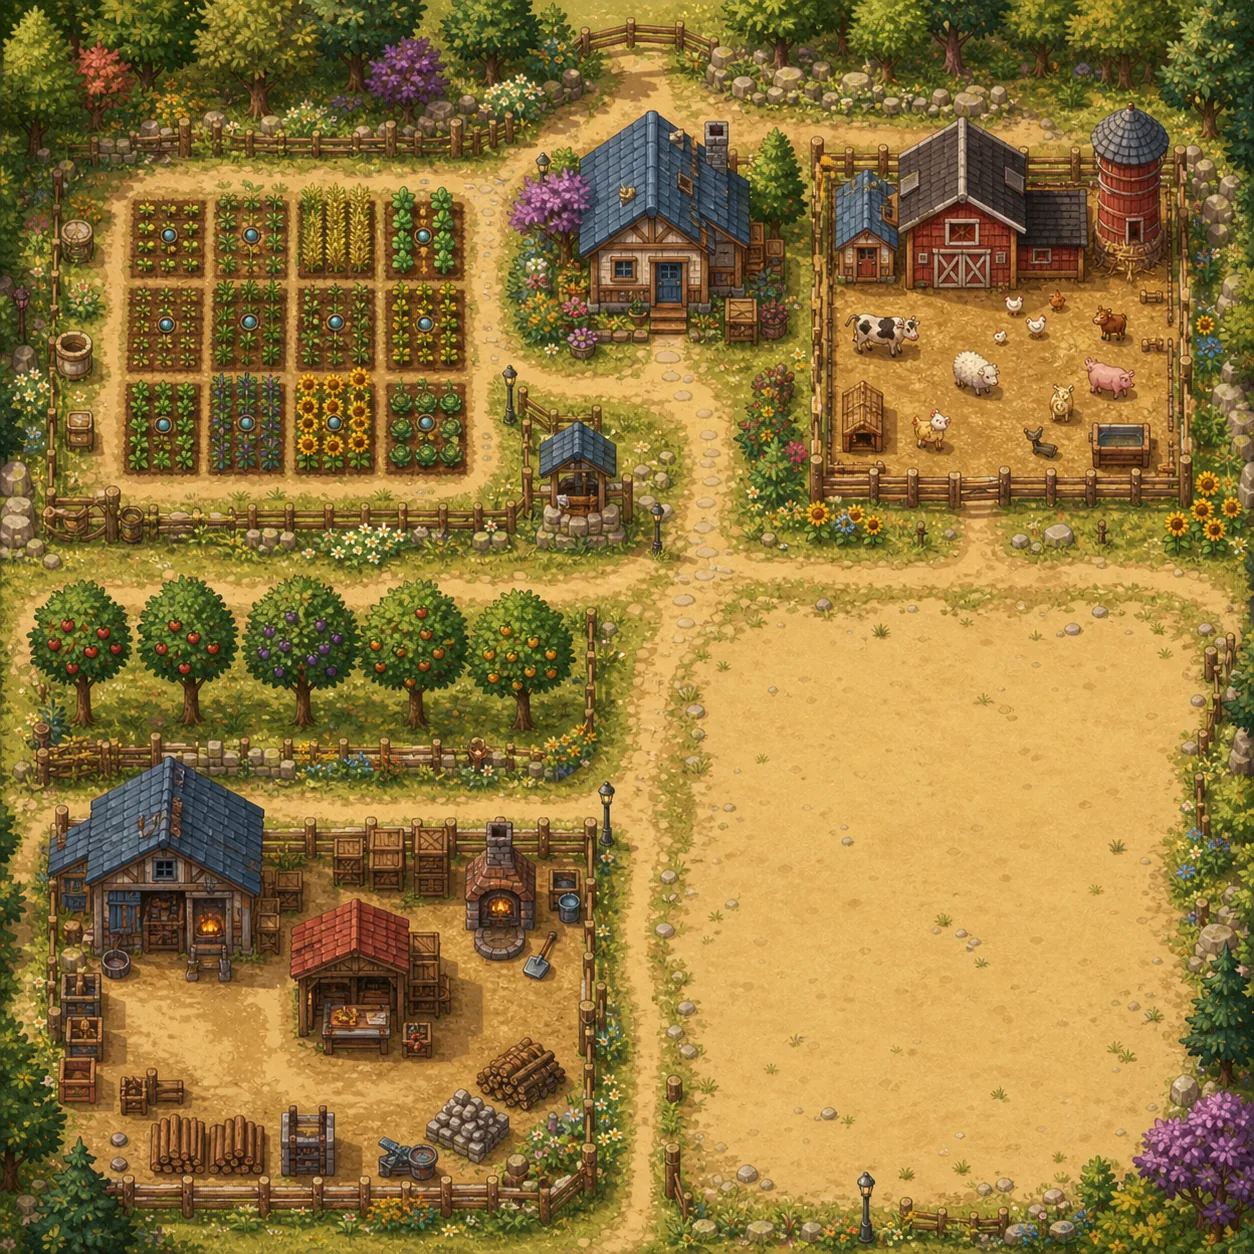
Stardew Valley farm layout ideas by playstyle
There is no single best farm layout. Choose a structure that matches what you actually do with your save, then borrow details from other designs only when they solve a specific problem.
| Layout type | Best for | Core placement | Trade-off |
|---|---|---|---|
| Production-first | Players who process crops and animal goods every day | Put barns, coops, sheds, chests and the shipping route around one compact work yard. | Fast daily loops, but less room for a wide decorative garden. |
| Crop-grid | Farming income, Junimo Huts or a crop-heavy perfection run | Use large rectangular beds with straight paths and consistent sprinkler spacing. | Efficient and easy to count, but visually more regular than natural. |
| Orchard border | Fruit trees, honey, ponds and a scenic farm edge | Place tree rows along the outer border and keep the center open for crops or buildings. | Looks calm and grows over time, but trees need a clear growth area. |
| Starter-friendly | New saves and players still unlocking buildings | Keep early crops, a chest, a silo and one animal building close to the farmhouse. | Easy to use now, but you will probably redesign it after the first major upgrades. |
| Decorative hybrid | Players who want a themed farm without giving up production | Create one efficient production core, then use paths, trees, fences and ponds to frame it. | Flexible and attractive, but decoration can slowly consume practical tiles. |
Treat this table as a starting decision, not a ranking. Farm maps have different terrain, and the best layout is the one that leaves enough room for your actual buildings, machines and walking habits.
Design crop beds around the sprinklers you can use now
Sprinkler planning is where many farm layouts either become comfortable or become a daily repair job. Start with your current tier, include a path for harvesting, and only expand the field when the next sprinkler upgrade is realistic.
- 1
Count watered tiles, not just sprinklers
A sprinkler's pattern matters more than its item count. Draw the watered footprint on paper or in a planner, then leave enough walking lanes that you can harvest every crop without stepping through decorative dead ends.
- 2
Keep one modular block
Make at least one crop block a repeatable unit. When you unlock Quality or Iridium Sprinklers, you can replace that block without rebuilding the entire farm or moving every chest and fence.
- 3
Plan scarecrow coverage
Scarecrows and Iridium-quality coverage can overlap, but crop beds still need a quick visual check. Place scarecrows near the center or at a junction so their coverage is easy to reason about.
- 4
Leave harvesting access
The maximum number of planted tiles is not always the best number. A one-tile lane can save time, prevent awkward corners and make a large field feel much less tiring during a busy season.
Use the crop calculator when the bed becomes a money decision. The site's Crop Profit Calculator can compare days, plots, seed cost, Speed-Gro, crop quality and artisan processing before you commit a large section of the farm.
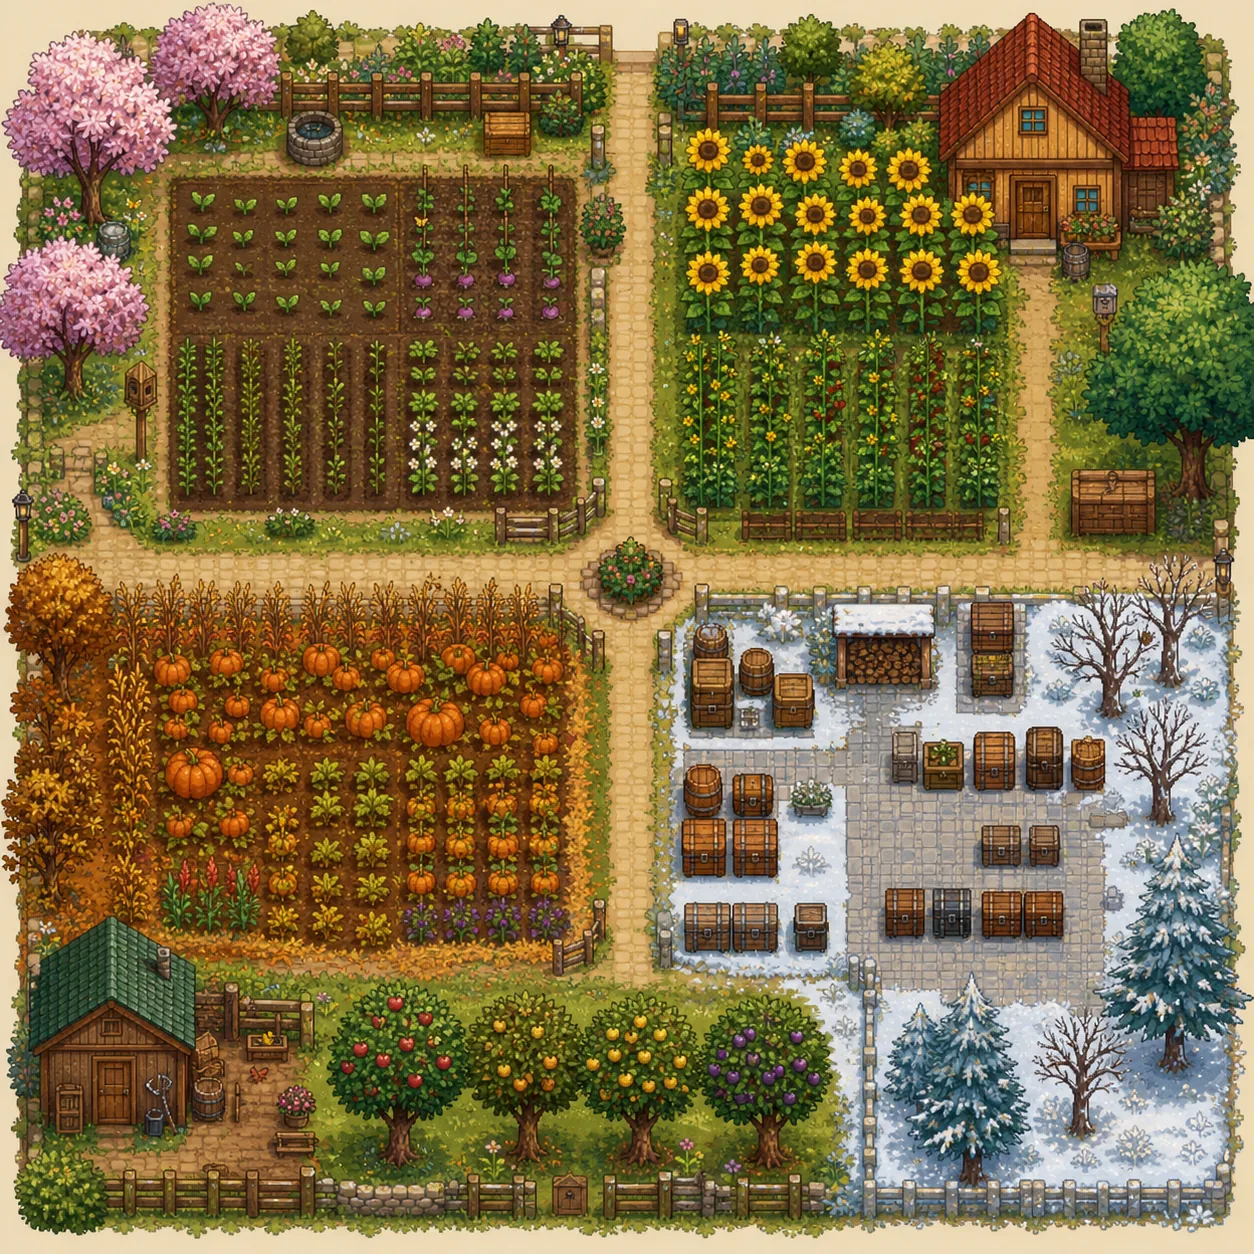
Keep a seasonal farm layout flexible
A farm can be tidy in Spring and completely overloaded by Fall if every tile is permanently assigned. Reserve spaces that can change jobs across the year so your layout supports both routine and seasonal income.
Spring setup
Use the first season to establish paths, a chest cluster and one reliable crop block. Avoid building a permanent fence around every early crop before you know your long-term route.
Summer expansion
Summer often reveals whether your sprinkler footprint is practical. Expand one modular bed, add processing capacity and keep a buffer for quality crops or a late forage plan.
Fall production
Fall fields can become large quickly. Keep the shipping route clear and leave enough room around trees, Junimo Huts or machines so harvest days do not turn into a maze.
Winter redesign
Winter is the safest time to move buildings, rebuild paths and test a new theme. Use the quiet season to turn temporary storage into a cleaner long-term production yard.
Common farm layout mistakes
Most layout problems are not caused by choosing the wrong farm map. They come from spending every available tile before the save's economy, buildings and daily routine are clear.
Filling every tile
A full farm can look productive in a screenshot but feel slow to use. Keep a visible reserve for new buildings, machines and projects that only become available later.
Making routes too narrow
One-tile paths can work, but repeated corners around fences and buildings make large farms tiring. Use wider junctions where you turn, load machines or enter animal yards.
Planting trees in future lanes
Fruit trees and decorative trees need room and become difficult to move once the farm is busy. Mark an orchard boundary before planting a dense row.
Scattering storage
If chests, kegs, preserves jars and furnaces are spread across the map, every task takes longer. Give storage a home and label it by workflow rather than by whatever tile is empty.
Copying a screenshot exactly
A community layout may assume a different farm map, mod list, building count or playstyle. Borrow the idea behind the design, then resize it around your own save.
Questions players ask before redesigning a farm
What is a good Stardew Valley farm layout for beginners?
Keep early crops, a chest, the shipping bin route and your first animal building close to the farmhouse. Leave one large open section rather than filling the whole map, because the first year changes quickly as you unlock sprinklers, sheds, barns and coops.
Should I choose a Standard Farm for the easiest layout?
The Standard Farm is usually the easiest map for a large crop-and-building plan because it has the most continuous farming space. That does not make it mandatory: Four Corners is excellent for separated zones, while Forest, Hill-top, Riverland, Beach and Meadowlands can be more interesting when their special terrain is part of the plan.
How many crop tiles should I plan for?
Use your seed supply, sprinkler count, processing capacity and available time as the limit. A smaller field that you can harvest and process on schedule is more useful than a huge field that leaves crops or machines idle.
Do I need a farm planner to make a layout?
No. A planner is useful for checking tile spacing and testing buildings, but you can start with a rough map, paths and modular rectangles. Planning on paper is enough to protect the main route and your future expansion area.
Can this guide plan the greenhouse too?
Only at a high level. The greenhouse has a compact layout with its own sprinkler and fruit-tree spacing rules, so use the site's dedicated Stardew Valley Greenhouse Layout guide when you are planning that room rather than the outdoor farm.
Is the farm layout shown in the images an official game map?
No. The images are original editorial concept illustrations created to explain zones, paths and seasonal flexibility. They should not be treated as exact tile maps or official Stardew Valley screenshots.
Useful Stardew Valley tools and guides
Sources and scope
- Stardew Valley Wiki: Farm Maps — Reference for farm-map terrain and the practical differences between maps.
- Stardew Valley Wiki: Sprinkler — Reference for sprinkler tiers and watering coverage.
- Stardew Valley Wiki: Greenhouse — Reference for the separate indoor greenhouse layout constraints.